Here are all my latest samples from yesterdays shows – Lots of different ideas using the dies and with the papers and cds that were on the show.
I hope you like them as they were such fun to make
Suzanne x


Here are all my latest samples from yesterdays shows – Lots of different ideas using the dies and with the papers and cds that were on the show.
I hope you like them as they were such fun to make
Suzanne x
I adored making thing project. Such a very clever envelope die design Sylvie Ashton . I loved all of Joanna’s shows last week and the different sample ideas.
This was kindly added to Joanna`s facebook page and in a newsletter.
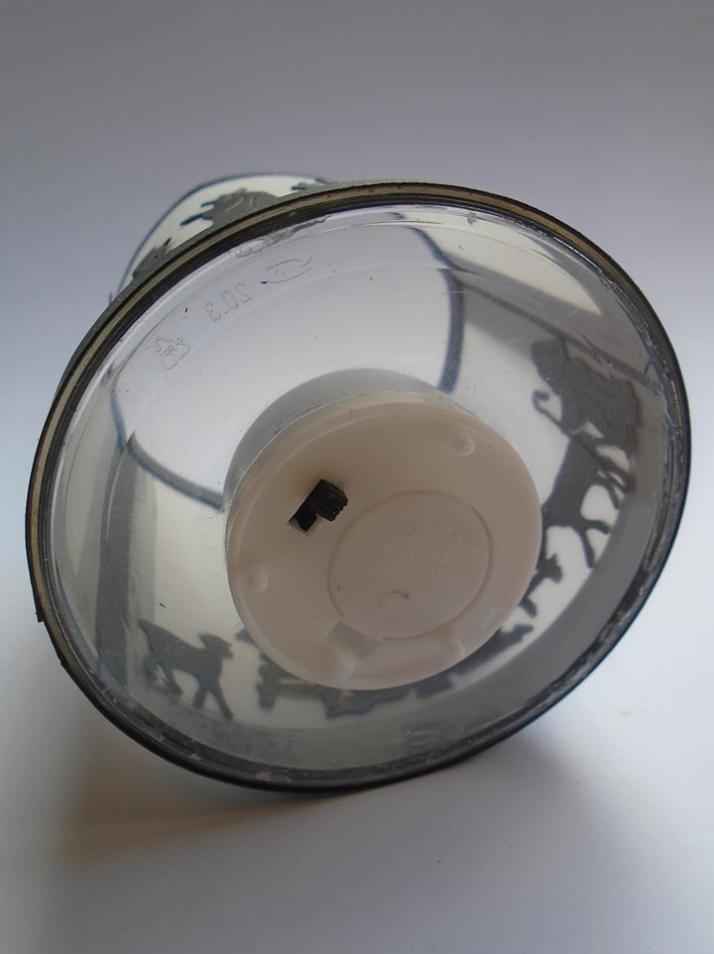
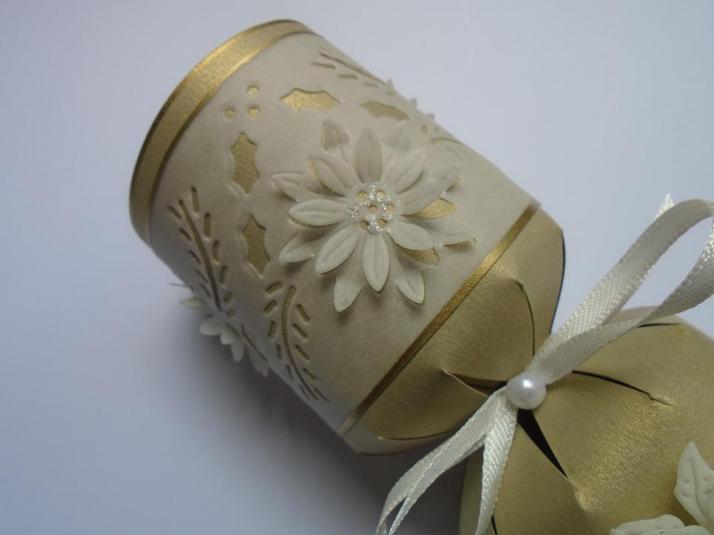
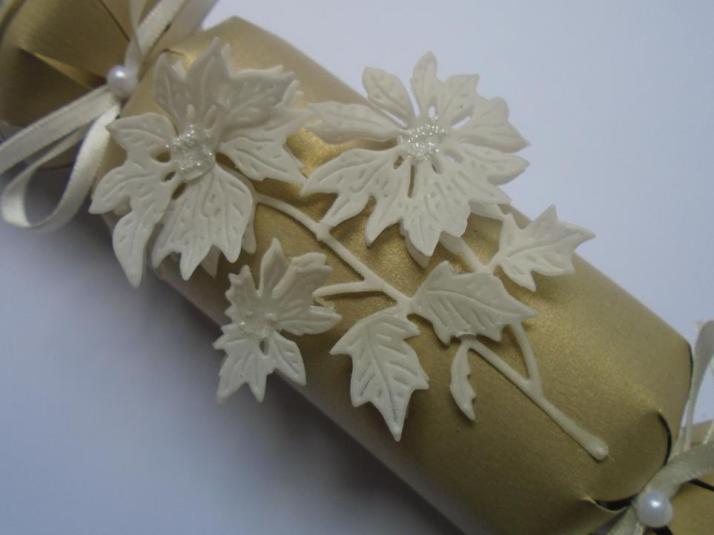
Here is a downloadable worksheet for anybody that saw Suzanne’s wonderful Tea Bag Advent Calendar Gift Box on one of Joanna’s C&C shows yesterday.


I hope you liked the workshop and the samples. I promise to keep posting samples each month or as when I have them.
Happy Crafting Suzanne x
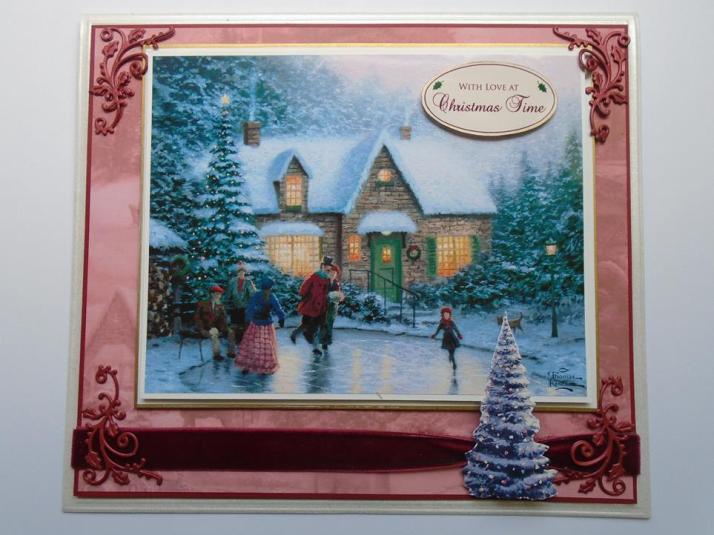
This months challenge card using a STUNNING image from
Joanna Sheens
~~~~~~~~~~~~~~

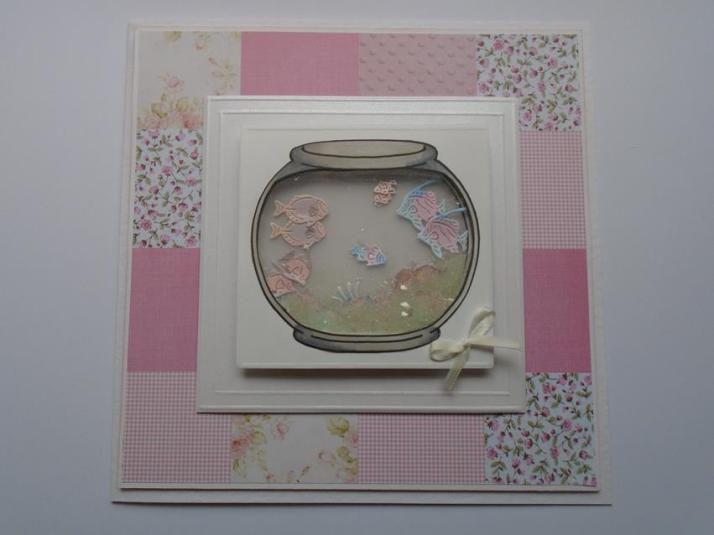
I wanted to use an embossed backing to the topper and the card
wasn`t big enough so I embossed 4 small pieces of card and inked them
using the peeled paint & the fired brick Tim Holtz distress ink pads.
I cut and teared the pieces to make a patchwork background before adding a decoupage
topper of the Daisy image.
~~~~~~~~~~~~~~~~~~
The card was finished with a shabby ribbon bow and some scrunched
Prima flowers to embellish
I tinted the green flowers with a red Promarker to marry the colours from the topper.

~~~~~~~~~~~~~~~
Please check out all the other blog challenge pieces as they are always a joy to look at
Have fun – Suzanne x
This months challenge card using a wonderful DIGI image from the
Joanna Sheens
I can`t believe I have never made a card using a digi image so this cd was perfect for the challenge
I had used one of the already coloured in digi flowers but never one you had to colour in
So out came the Promarkers to colour it in
~~~~~~~~~~~
It`s so relaxing colouring in
I decoupaged Daisy & the table before matting the image onto a few layers of card
to make a hanger for the kitchen door
~~~~~~~~~~~~~~

~~~~~~~~~~~~~~~
Please check out all the other blog challenge pieces as they are always a joy to look at
Don`t forget to stop by the blog to see the daily talent spot as well as the weekly blog candy
Plus the challenges are every 2 weeks now – so lots to see
Have fun – Suzanne x
This months challenge card using a STUNNING backing paper
Joanna Sheens
This card is a very simple one but I love that in a card sometimes
~~~~~~~~~~~~~~

I thought the scalloped circle die which is cut on a folded piece of the rosebud paper would suit the title brief
The wheels are inked cirlces using the new Summer Limited Edition
Tim Holtz Ink pad – Picked Raspberry
Which are currently on special offer if you click the link above
~~~~~~~~~~~~~~~
Please check out all the other blog challenge pieces as they are always a joy to look at
Don`t forget to stop by the blog to see the daily talent spot as well as the weekly blog candy
Plus the challenges are every 2 weeks now – so lots to see
Have fun – Suzanne x


Please check the blog out to see all the
~~~~~~~~~~~~~~
I thought i`d add a workshop
It`s a very simple one but the technique of adding pages is
a very useful one
~~~~~~~~~~~~~
So for this workshop I have used the following
( click on the item to take you to the product )
Purple Ribbon & Lace Hanky
~~~~~~~~~~~~~~~
1
Take the 8 x 8″ card blank & 2 sheets of kunzite card. Trim of 4 inches off the
bottom of the 2 sheets of card in a portrait position.
1

2
Score 3/4 inch down the right hand edge of the card making sure the card is in the correct
position and the bottom edge is the edge that has just been cut away – this will ensure the
wider edge has been scored. Place a strip of double sided tape behind the tab & place the scored edge
right on the base card centre crease. Once the card is in place remove the tape & stick the card down.
2

3
Repeat this process on the 2nd piece of card to form the 2nd page of the card. Add the tab to the back
of the card so the tab will be covered with another square piece of card – this is optional but adds
a lovely feel to the project matching and covering the tabs. Cut the panel to side to make sure the
card is covered correctly as it will give a seamless feel to the project.
3

4
Once the 2 pieces of card are in place the centre of the card will look like this.
A lovely flush feel & the tabs are underneath.
4

5
Select different backing papers from the Jane Shasky cd to match the theme of the card.
Here a frame with acetate & pressed flowers behind have been added to make a feature
piece to the project. An edging of lilac promarker has been used around the backing papers.
5

6
Add different images which have been printed onto photo paper for a lovely sheen.
Build the images throughout the pages to link the colours together.
6

7
Here one of the frames has been added towards the back to allow a sentiment and your own words
to be hand written if you so wish.
7

8
More backing papers & the decoupaged image has been added to the front page.
8

9
To add detail to the piece & follow the lace theme from the image a lace hanky has been folded in half
& a ribbon added to gathered the hanky up. The ribbon used has also been added as a bow in the top left hand
corner to bring the eye to the colours in the image.
9
10
A close up of the hanky. Before the hanky was gathered I stamped the lavender image using Tim Holtz dusty concord
& peeled paint distress ink.
10
I hope you have enjoyed this project – it`s great for making small scrapbooks
and they are great for special occasions.
Suzanne x
~~~~~~~~~~~~~~~~~~
Please feel free to sign up to my blogs to
receive the latest post as and when they are published

I have used the DL inset which was perfect for the 8×8 card – so no measuring needed
Print a landscape dl insert from the If flowers could talk cd

Print however many pages you need and trim around the insert outline and keep one whole and the rest cut off at 110mms

Make the easel base and place the whole insert onto the card base , mat onto card or add a gold edging to enhance the look

Place 2 holes through the cut inserts and the back of the inside of the easel card

Place a piece of ribbon or lace through the holes and the inserts once all the comments have been coolected in. the best thing about this is you can hand out say 10 sheets to different people / places and the it takes less time for everyone to sign the card . Maybe the page could be sent to relations too.

Add a sentiment which has been raised on foam pads so it makes the stopper

Add a topper and backing paper to the front and maybe some lace – as the front will be flat you can go to town with the front and maybe add it to a box I hope this helps more on what I was talking about – i`ll copy this onto my blog later and add to the workshops so it`s not lost in the pages of the forum Suzanne x
This months challenge card entitled
`HAPPY BIRTHDAY`
I made a triple easel card using an image from Joanna Sheens Cd
Having just made some workshop with a triple easel effect I wanted to play more
so thought i`d try the oval shape and the image was perfect for that.
~~~~~~~~~~~~~~~~~

The design always the shape to be sent flat – so great for fitting into an envelope & posting
Here the flowers have been decoupaged to add dimension

Please check out all the other blog challenge pieces as they are always a joy to look at
~~~~~~~~~~~~~~~~~~~
For a worksheet on the triple easel card please check out my workshop

Don`t forget to stop by the blog to see the daily talent spot as well as the weekly blog candy
Plus the challenges are every 2 weeks now – so lots to see
Have fun – Suzanne x
 It was hardly surprising it was a sell out on the show
 ~~~~~~~~~~~~~~~~
~~~~~~~~~~~~~~~~~~~~
~~~~~~~~~~~~~~~~~


~~~~~~~~~~~~~~~~~~~
~~~~~~~~~~~~~~~~


~~~~~~~~~~~~~~~~
This moths challenge card is a bit of a sneaky peek at
an image from Joanna Sheens next Cd
Having just made some samples for the launch I just wanted to continue and play
with the cd – the challenge was
`For Someone Special` and seeing as all the verses are text editable
I just had to use the image as I adore it
~~~~~~~~~~~~~
On Joanna`s forum there was a question asked about covering up backing papers and your thoughts on it
Well this backing paper was no exception so I cut along the rose & lace edge and tucked the
mat card into the slot before adding the topper & 2 decoupaged roses to complete the look
I was pleased with the results & just love the fact you can edit the verses
~~~~~~~~~~~~~~~
I think this image would make a wonderful wedding invite with the words added to the lace background
~~~~~~~~~~~~~~~~~


Please check out all the other blog challenge pieces as they are always a joy to look at
Don`t forget to stop by the blog to see the daily talent spot as well as the weekly blog candy
Plus the challenges are every 2 weeks now – so lots to see
Have fun – Suzanne x

